
 Singapore
 China
China
The Short Answer: A home renovation floor plan is a scaled diagram viewed from above, detailing rooms, walls, doors, and windows. It is the most critical tool for spatial planning; an excellent floor plan can increase actual usable space by up to 15% and ensure furniture fits perfectly.
TL;DR:
- Start with precise measurements and clear functional zoning.
- Plan circulation paths before placing furniture to avoid bottlenecks.
- Adopt a "Furniture First, Floor Plan Second" mindset to make layouts serve your ideal lifestyle, not restrict it.
- Understand specific renovation rules for Singapore HDB flats vs. Condos to avoid costly mistakes.
The Evolution of the Floor Plan's Role
A few years ago, a floor plan was just a static map provided by developers. Homeowners struggled to squeeze their lives into the boxes drawn by architects. Today, this mindset has completely reversed.
Modern floor plans are blueprints for your lifestyle. We no longer just stuff furniture into rooms; we design rooms—sometimes entire home renovation layouts—around how we want to live. This shift from passive acceptance to active creation is the biggest change I've witnessed in my 14-year design career. It puts the homeowner's vision first.
How to Read a Floor Plan, Unlocking Spatial Potential
Before drawing or modifying a floor plan, you must learn to read its language. A floor plan is filled with symbols and lines that tell the story of a space. Understanding this visual language is the first step to any successful renovation and the foundation of all good spatial planning.
Key Element Identification:
- Walls: Thick solid lines usually represent structural walls that cannot be arbitrarily altered. Thin lines represent partition walls, which offer more flexibility.
- Doors: A line and an arc represent a door. The arc shows the swing direction and required clearance.
- Windows: Shown as breaks in the wall, often with thin lines indicating sashes.
- Scale: Check for ratios like 1:50 or 1:100. This tells you the relationship between the drawing and real-life dimensions. 1:50 means 1 cm on paper equals 50 cm in the room.
Expert Data Point: According to a 2025 analysis by the Singapore Institute of Architects, misidentifying structural walls accounts for over 30% of budget overruns in private residential renovations. Always verify structural elements with professionals.
Last month, while working on a condo renovation, the client almost approved the demolition of a thick wall on the plan. They assumed it was just a partition. But a quick cross-check against the building's structural drawings revealed it housed the main soil stack for the entire block. That mistake could have led to a six-figure repair bill and serious disputes. The key lesson: Never assume. Always verify every line against official documents or qualified professionals.
❌ Common Mistakes vs ✅ Correct Practices
| ❌ Common Mistakes | ✅ Correct Practices |
|---|---|
| Guessing the function of different lines. Not all thick lines are structural; some hide pipes or wiring. | Cross-reference your BTO floor plan with official HDB guidelines. For condos, check MCST (Management Corporation Strata Title) rules. For landed homes, consult the original building plans submitted to URA. |
| Ignoring door swings and window openings. Placing a large wardrobe where a door needs to open is a classic, frustrating error. | Trace the opening arc of every door on your plan. This creates a visual "no-go zone" for large furniture, ensuring practicality. |
How to Draw a Truly Functional Home Renovation Floor Plan
Drawing an effective floor plan is a logical process about making smart decisions that optimize daily life. Here are the simplified steps we use at MRETTY.
The "Counter-Intuitive" Insight on Starting Points
Most people think the first step is drawing the walls. But actually, the best starting point is mapping out your daily circulation.
Where do you drop your keys when you enter? Where do the kids do their homework? What path do you take for a midnight glass of water? Draw these "desired paths" first. You are designing for human behavior, not for an architectural box. This ensures the final layout feels intuitive and effortless. Walls and furniture should serve your habits, not the other way around.
Step 1: Measure Everything Precisely
Your plan's accuracy depends on measurement. Use a laser distance meter. Record the length, width, ceiling height, and exact locations/sizes of all doors, windows, and fixtures. This is non-negotiable.
Step 2: Define Functional Zones & Circulation
Think circulation before furniture. How do you move from the bedroom to the kitchen? This is your primary path; it must be clear and unobstructed. Then divide rooms into zones: work, rest, dining. This is called zoning.
Even under tight deadlines, I never skip circulation planning. It is more critical than furniture selection because it dictates the home's energy and usability. A beautiful sofa that creates a bottleneck is a daily annoyance. A clear path makes a home feel larger and calmer.
Step 3: Place Major Furniture First
Start with the big pieces: sofa, bed, dining table. These are the anchors. Place them within their zones without blocking paths. Use their exact dimensions to ensure proper scale.
Step 4: Add Secondary Furniture & Storage
Once anchors are set, add smaller items like coffee tables and side chairs. This is when you plan storage. This is also where you optimize small apartment floor plans with built-in solutions (like custom MRETTY wardrobes).
Step 5: Review Lighting & Ergonomics
Finally, review the plan. Where does natural light fall? Is there enough space to pull out a dining chair? This review ensures comfort, not just visual appeal.
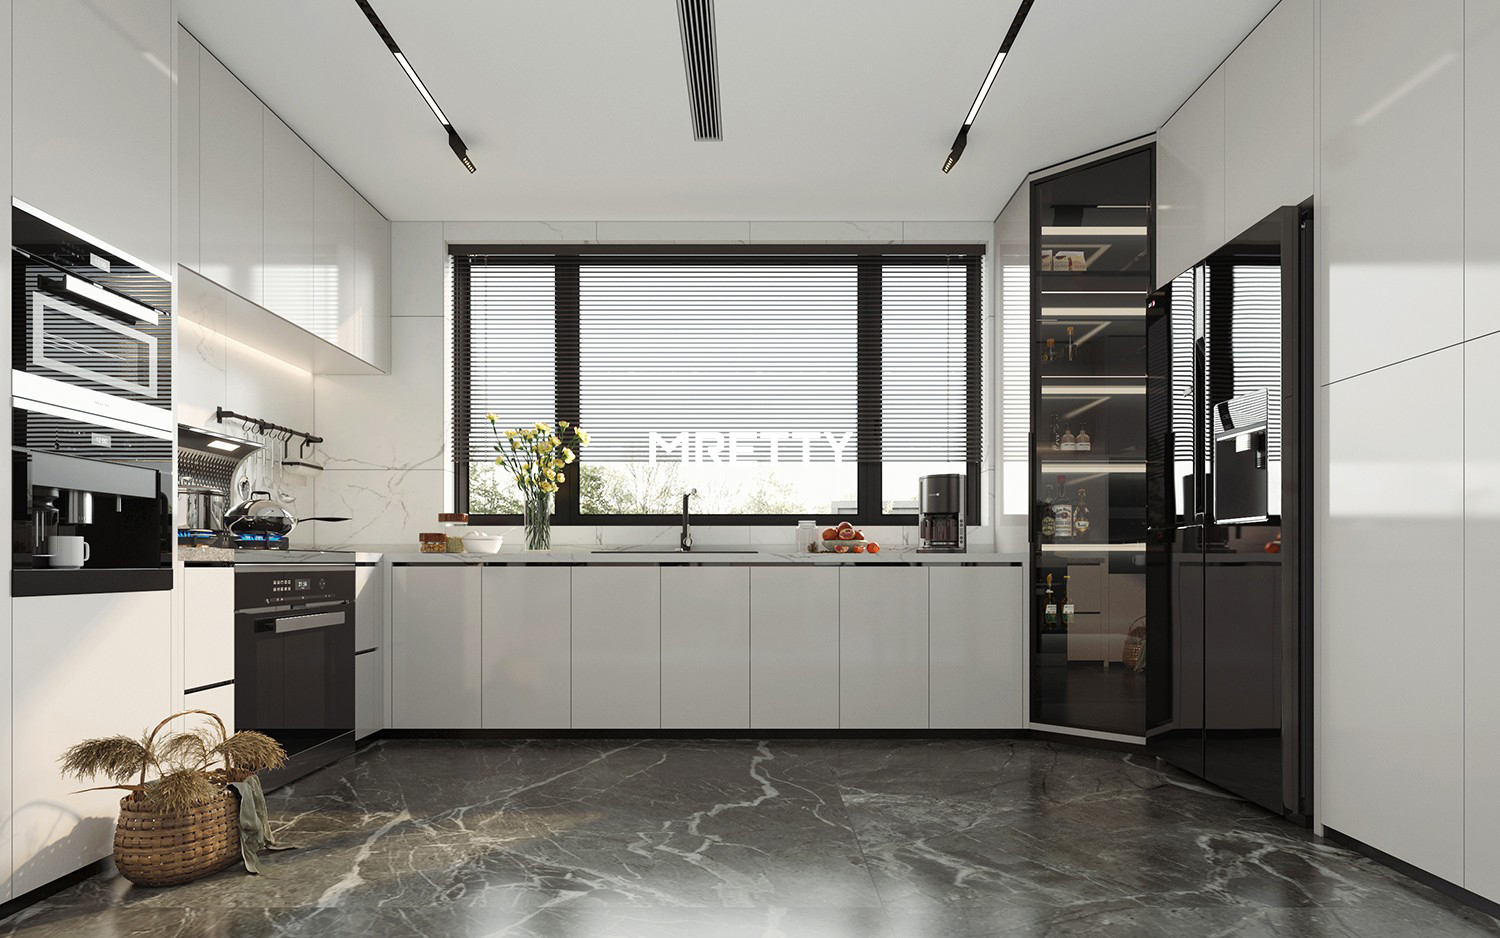
The MRETTY Philosophy: Why "Furniture First" Works Best
Here is an insight that contradicts mainstream advice: Do not draw a floor plan and then try to find furniture to fit. Instead, decide on your ideal furniture first, then design the floor plan around it. This is the "Furniture First" method.
Why is this better? Standard floor plans force compromise. You end up with a space that "barely" fits your dream walk-in closet or perfect island, leaving awkward gaps. This is especially true for clients seeking full customization. For instance, in a recent Marina Bay condo project, the owner wanted a hotel-suite feel. We specifically redesigned the master bedroom entrance and walls to accommodate a full-wall integrated headboard and wardrobe system. This seamless, luxurious effect is impossible with off-the-shelf furniture in a standard layout.
The floor plan becomes a direct instruction set for custom furniture. It tells our 15,000㎡ smart factory the exact cabinet dimensions. It dictates where power sockets for built-in appliances must be placed. Precise floor plans ensure high-end MRETTY walk-in systems integrate perfectly with walls, ceilings, and floors.
❌ Common Mistakes vs ✅ Correct Practices
| ❌ Common Mistakes | ✅ Correct Practices |
|---|---|
| Finalizing electrical plans before confirming furniture layout. This leads to sockets hidden behind sofas or pendant lights not centered over the dining table. | Use your furniture layout to generate the electrical plan. Mark exact positions for light fixtures and appliance sockets. Function dictates form. |
| Treating built-in storage as an afterthought. This leads to bulky, inefficient wardrobes disrupting room flow. | Integrate custom storage during the architectural phase. Smart floor plans can "borrow" space from adjacent rooms to create a recessed, seamless walk-in wardrobe—a core MRETTY specialty. |
Adapting Floor Plans for Singapore Homes (HDB vs. Condo)
In Singapore, successful layouts require understanding local regulations. HDB restrictions differ vastly from private condos. Ignoring this guarantees rejected plans and wasted money.
Singapore HDB vs. Condo Layout Restrictions
Familiarity with HDB and Condo MCST rules is crucial. In the 500+ Singapore homes I've handled, this is where homeowners make the costliest errors.
| Feature | HDB Flats (BTO & Resale) | Private Condominiums | Landed Homes |
| :--- | :--- | :--- | :--- |
| Wall Removal | Strictly regulated. Requires HDB approval; structural walls are prohibited. | Regulated by MCST and BCA. Structural changes are rare and require a Professional Engineer (PE). | More flexible. Major works still need BCA approval and are subject to URA planning controls. |
| Floor Finishes | New BTOs have a 3-year restriction; bathroom finishes cannot be hacked to prevent leaks. | No such restriction, but waterproofing is key and managed by MCST for inter-floor leakage. | Full control over finishes, must meet BCA standards. |
| Windows/Facade | Strictly no alteration to external walls (windows, grilles) to maintain uniformity. | MCST also prohibits alterations to maintain building aesthetics. | Alterations possible with URA and BCA approval; higher design freedom. |
The conclusion is clear: your renovation creativity must operate within specific regulatory frameworks.
- For HDB Owners: Focus on internal, non-structural changes. A common project is creating an open-concept layout in a 4-room flat by removing the kitchen wall. This is a permissible change that dramatically alters the home's feel but requires submitting detailed plans to HDB.
- For Condo Owners: The challenge shifts to coordination with MCST. Recently, merging two rooms in a Sentosa Cove condo required us to hire a PE to certify the wall was non-structural, adding three weeks to our planning phase.
- For Landed Home Owners: You have the most freedom. In a Bukit Timah house, we not only removed internal walls but also extended the living room. This required extensive submissions to URA (land use) and BCA (structural safety).
A successful renovation isn't just a pretty drawing; it's a deep, pragmatic understanding of the specific regulations governing your property type.
HDB Floor Plan Design Ideas: BTO Layout Checklist
Finalizing your BTO floor plan is the single most important step in your renovation journey. Before confirming any design, rigorously review your layout with this checklist.
1. Structural & Facility Verification
- Identify All Structural Walls: Use the floor plan provided by HDB and cross-reference with official structural drawings. Never hack walls marked "SW" or "Shear Wall."
- Locate All Soil Pipes: These vertical pipes are usually in the kitchen, bathrooms, and bomb shelter. You cannot move them. Plan your kitchen and bathroom layouts around them.
- Confirm Bomb Shelter Door: Note its position, swing direction, and the required 1.5-meter clearance in front. This is a critical constraint.
2. Space Optimization & Circulation
- Map Your Desired Paths: Walk through the empty unit. Trace your most common routes (e.g., night-time from bedroom to kitchen). Ensure these paths are clear on your plan.
- Check Door Clearances: Use a compass to draw the swing arc of every door. Ensure no door hits a window or blocks a pathway.
- Measure Built-in Furniture Dimensions: For custom MRETTY wardrobes, measure the exact wall length. Standard 4-room BTO bedrooms are typically about 2.4m wide. Plan your storage to utilize every millimeter.
3. Electrical & Lighting Integration
- Place Power Sockets Based on Furniture: Mark TV, bedside table, and sofa positions. Ensure sockets won't be blocked by this furniture.
- Plan Lighting Zones: Decide where you need ambient, task, and accent lighting. Your plan should clearly show these zones.
- AC Ledge Access: Ensure the plan accounts for maintenance access to the outdoor condenser unit.
4. Common BTO Layout Challenges & MRETTY Solutions
| Challenge | MRETTY Custom Solution |
| :--- | :--- |
| Narrow Corridors: Feel dark and oppressive. | Create a full-height feature wall with integrated lighting and hidden storage. |
| Awkward Bay Windows: Wasted space. | Convert it into a built-in window seat with storage drawers underneath. |
| Small Kitchen: Insufficient counter space. | Design a custom island or extend counters with pull-down chopping boards. |
| Bomb Shelter Door: An eyesore breaking the living room aesthetic. | Camouflage it with a matching full-height cabinet system, making it "disappear" into the wall. |
Tools & Professional Help: From DIY to Designer
You can start drawing floor plans using free tools like SketchUp or RoomSketcher. These are great for basic visualization. However, for full-home renovations, professional help is invaluable.
- Interior Designers: Provide aesthetic guidance and space planning.
- Full-Home Customization Companies (like MRETTY): Offer fully integrated solutions. We provide design, manufacturing, and installation. This ensures the floor plan isn't just a drawing, but a direct instruction set for our smart factory.
Your Next Step: From Blueprint to Perfect Execution
Your floor plan is the DNA of your future home. It dictates how you will live, move, and feel within that space every day. Do not leave it to chance or generic templates.
Ready to turn your floor plan into a masterpiece of functional design? #
About the Author
Hanson is a full-home designer with 14 years of experience, specializing in high-end custom furniture and interior design in Singapore. He is a Senior Designer at MRETTY, having led over 500 residential projects, helping homeowners transform developer floor plans into personalized sanctuaries.
Sources
- Singapore Institute of Architects: Analysis of Structural Misidentification in Renovations (2025).
- Housing & Development Board (HDB): Official Renovation Guidelines for BTO & Resale Flats.
- Urban Redevelopment Authority (URA): Planning Regulations for Landed Homes.
- Building and Construction Authority (BCA): Structural Safety and Building Control Regulations.
MRETTY: Premium Bespoke Kitchen & Cabinet Systems Provider in Singapore.
